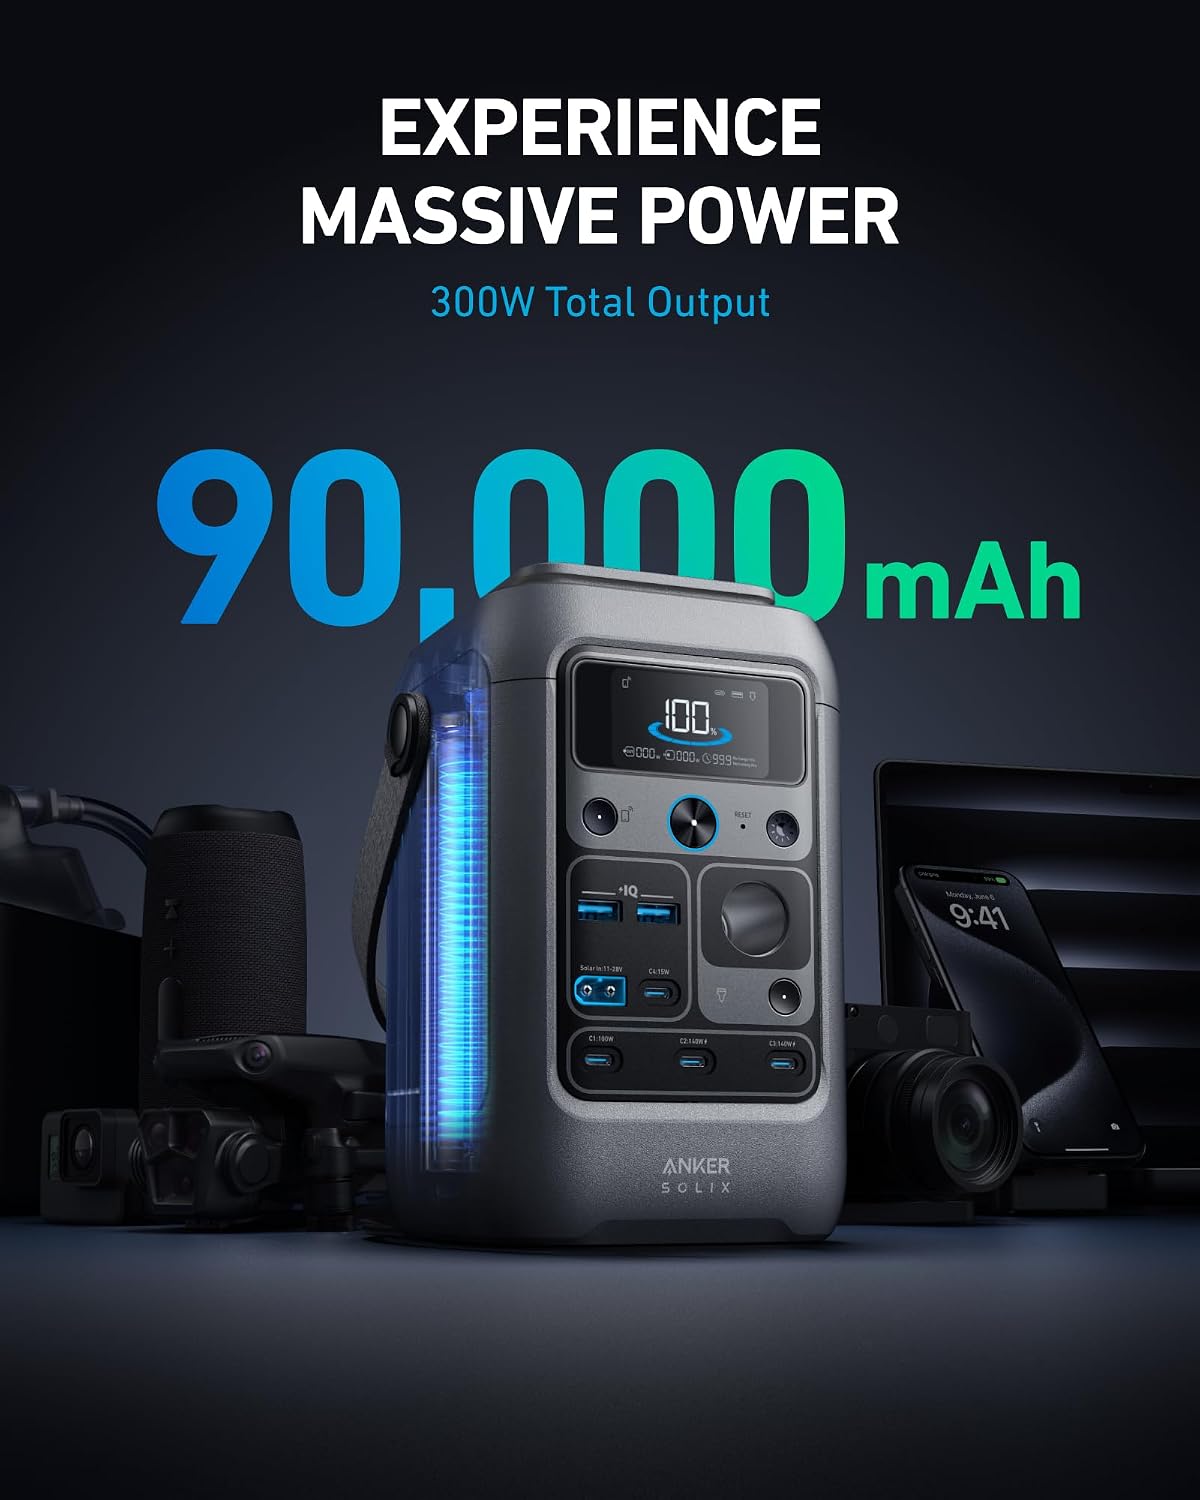
If you’ve ever driven a dirt road until the pavement was a memory and then realized your phone, GPS, and camp lights all needed charging at the same time, you already understand why overlanders obsess over power. A portable power station is essentially a large rechargeable battery with built-in outlets — AC wall-style plugs, USB ports, and 12V car-style sockets — that lets you run real gear in a campsite or a remote trailhead. A solar panel is what refills it while you’re parked, using sunlight instead of a wall outlet or your truck’s alternator. Those two components sound simple to pair, but the mismatch between them is one of the most consistent complaints in overlanding forums and long-run owner reviews: buyers purchase a well-regarded station and a well-regarded panel, plug them together, and watch the charging rate crawl or stop entirely. This guide walks you through exactly why that happens and how to avoid it — so your kit works the first time you’re three hours down a two-track with no cell signal.
| EDITOR'S PICKEF ECOFLOW Portable Power Stati… | Mid-tierAnker SOLIX C300 DC Power Bank… | Budget pickKatadyn Hiker Pro Hand Pump Wat… | |
|---|---|---|---|
| Capacity | 1024Wh | 288Wh | — |
| Battery type | LiFePO4 (LFP) | LiFePO4 | — |
| AC output | 1800W | — | — |
| USB-C output | 100W | — | — |
| Solar input | Solar Panel Optional | 300W | — |
| Wall charger | — | ✗ (not included) | — |
| Price | $449.00 | $249.99 | $74.89 |
| See on Amazon → | See on Amazon → | See on Amazon → |
Why “Compatible” Isn’t the Same as “Optimized”
Most power stations accept solar input through an XT60 connector, an Anderson Powerpole, or a proprietary port — and most manufacturers include adapter cables or sell them separately. That connector question gets solved at the hardware store. The harder problem is the voltage window.
Every power station has a solar input voltage range published in its spec sheet — for example, the Goal Zero Yeti 1000X accepts solar input between 14V and 50V DC, per Goal Zero’s official product documentation. If your panel array produces voltage outside that window, the station’s charge controller shuts down the input to protect internal circuitry. Below the floor, nothing happens. Above the ceiling, you risk tripping a protection circuit or, in edge cases, damaging the unit.
Solar panels wired in series (positive terminal of one panel to the negative of the next) add their voltages together. Two 24V panels in series produce 48V — fine for a station with a 50V ceiling, dangerous for one with a 40V ceiling. Panels wired in parallel keep voltage constant while adding amperage. That distinction directly governs how many panels you can chain for a given station.
The second friction point is the MPPT controller — Maximum Power Point Tracking. This is the circuit inside the power station that constantly adjusts how it draws current from the panel to extract the most power as sunlight intensity shifts throughout the day. Not all MPPT implementations are equal. BioLite’s technical documentation for the SolarPanel 100 explicitly notes that the panel is optimized for BioLite’s own BaseCharge stations, and that third-party pairing may reduce tracking efficiency by 10–20% under partial shade conditions. That’s a real-world gap between spec-sheet peak output and what owners actually report on cloudy afternoons or under tree canopy — a condition overlanders face constantly.
REI’s Solar Power Buying Guide reinforces this: “panels and stations from the same ecosystem are tested to work together; cross-brand pairings may work but should be verified against the station’s input voltage spec before purchase.”
The Numbers That Actually Matter Before You Buy
Before picking any specific product, pull three figures from the spec sheets of both the station and panel you’re considering. If they don’t line up, the pairing won’t perform.
Three-number compatibility check:
| Spec to confirm | Where to find it | What to verify |
|---|---|---|
| Panel open-circuit voltage (Voc) | Panel spec sheet | Must sit below station’s max solar input voltage |
| Panel operating voltage (Vmp) | Panel spec sheet | Should sit inside station’s MPPT optimal range |
| Station max solar input (watts) | Station spec sheet | Panel wattage (×number of panels) should not exceed this |
A concrete example: the Goal Zero Yeti 1000X lists a 150W max solar input in some configurations — per Goal Zero’s official documentation that ceiling climbs when using their proprietary Chaining Cable — and a 14–50V input window. A single 100W rigid panel with a Voc of 22V and Vmp of 18.5V fits cleanly. Two of the same panels in series would produce a Voc near 44V, still inside the window — but barely, and any temperature spike (panels run hotter than rated in direct sun) can push Voc higher. That’s why experienced overlanders building dual-panel setups often choose panels with a lower Voc or wire in parallel instead.
Station Tiers: Matching Capacity to Your Real Load
Wirecutter’s Best Portable Power Stations review consistently emphasizes that buyers routinely overpurchase capacity for light loads or underpurchase for vehicle-based power demands. Here’s how to think about it by use case:
Light overlanding (weekend trips, minimal gear): 500–700Wh capacity handles two nights of lighting, phone and GPS charging, and a 12V fan without solar input at all. At this tier, a single 60–100W foldable panel is sufficient for a 4–6 hour recharge on a sunny day. Pairing example: a ~500Wh station drawing 10A from a 100W panel at 18.5V produces roughly 185W under ideal conditions — more than the station’s rated 150W input ceiling in some models, so always check first.
Moderate overlanding (extended trips, CPAP, camp fridge): 1,000–1,500Wh. A 12V compressor fridge pulls 30–60W continuously, which drains 720–1,440Wh per day. You need solar input that at minimum keeps pace with consumption — meaning 200W+ of panel capacity in real-world (not peak) conditions. Outside Online’s overlanding solar coverage notes that real-world panel output in mixed conditions runs 60–75% of rated wattage, making a 200W panel array produce roughly 120–150 usable watts on an average travel day.
Full-time or remote-professional overlanding: 2,000Wh+ stations paired with 300–400W rigid roof-mount or tilting ground-deploy panels. At this tier, the voltage ceiling of the station becomes the binding constraint faster than wattage does, because higher-wattage panels tend to have higher Voc values.
By the numbers — real-world solar output reality check:
- Rated 100W panel → ~65–75W average real-world output on a clear day (per REI Solar Buying Guide)
- Rated 200W array → ~130–150W average real-world, enough to sustain a 12V fridge
- Full recharge of a 1,000Wh station in 6 sun-hours requires: ~170W minimum average input
- Most 160–200W foldable panels hit that threshold on a clear summer day; add a second panel for cloudy-day margin
Cross-Brand Pairing: Where It Works and Where It Breaks
The clean answer is: same-ecosystem pairings are lowest-risk; cross-brand pairings require voltage verification but often work fine if you do the math.
Goal Zero’s Yeti line is the most extensively documented cross-brand compatibility case in overlanding reviews. Because Goal Zero publishes exact voltage windows and connector specs, owners commonly run third-party panels — Renogy, Jackery-compatible panels, and rigid marine panels — with their stations. The pattern across aggregated owner reviews is that rigid mono-crystalline panels with Voc values in the 22–38V range drop in cleanly. Where it breaks: large format panels with Voc values of 48–52V, common in residential-grade panels that some overlanders source cheaply from solar installers, exceed the Yeti 1000X’s ceiling and trip the protection circuit.
BioLite’s ecosystem is tighter. The SolarPanel 100 and SolarPanel 10+ are engineered around the BaseCharge 600 and 1500, and BioLite’s own documentation is candid that MPPT optimization is reduced outside that pairing. Owners using BioLite panels with third-party stations report functional but sub-optimal charging — real-world output closer to 55% of rated in cloudy conditions versus 65–70% in matched pairings.
Midland doesn’t manufacture power stations, but overlanders frequently pair Midland ER310 emergency radios with portable power systems; that radio draws under 5W in charging mode and adds negligible load to any station in this guide.
Popular Mechanics’ portable power station coverage notes a consistent pattern: “stations with MPPT controllers rated for wider voltage windows — 12–60V rather than 14–50V — show fewer incompatibility reports across mixed-brand pairings, suggesting the tolerance band matters as much as the peak ceiling.”
The Vehicle Integration Question
A standalone solar-plus-station kit is the simplest overlanding setup. But many intermediate-level builds introduce a second charging path: the vehicle alternator, via a DC-to-DC (DC-DC) charger that steps voltage down from the truck’s 12–14.4V charging system to whatever the station’s DC input accepts. This is how you gain charging miles while driving without idling your engine at a campsite.
The tradeoff is wiring complexity and the risk of deep-cycling your vehicle’s starting battery if the DC-DC charger isn’t properly set up with a battery isolator or a voltage-sensing relay. REI’s solar guide puts it plainly: alternator charging is efficient (often 150–200W equivalent), but it requires a dedicated charge controller between the vehicle battery and the station — not a direct connection.
If X, then Y — decision rules for your specific situation:
- If your trips are 1–3 nights and you run phone/GPS/lights only: a 500Wh station plus a single 100W foldable panel is your pairing. Verify Voc is under your station’s ceiling. You’re done.
- If you run a 12V fridge and trips extend past 3 days: step to a 1,000–1,500Wh station, budget for 200W+ of panel, and verify the station’s solar input ceiling handles two panels wired in parallel (voltage stays constant, amperage doubles — safer across more station models).
- If you’re wiring the station to your alternator as a second input: add a DC-DC charger with battery protection — don’t run direct. The cost is $80–$150 in components and an afternoon of wiring, but it prevents stranding yourself with a dead starting battery.
- If you’re comparing two stations and one has a wider voltage window (e.g., 12–60V vs. 14–50V): choose the wider window every time. It gives you more flexibility as your panel setup grows without a station upgrade.
- If a manufacturer’s documentation doesn’t publish the solar input voltage range: contact support before buying. A company that doesn’t publish this number is one whose panels and stations are tested exclusively in-house, and cross-brand compatibility is genuinely unknown.
The overlanding power question isn’t which brand is best — it’s whether your specific panel’s voltage numbers fit inside your specific station’s input window, and whether your total panel wattage stays at or below the station’s solar input ceiling. Get those three numbers right, and the rest is just connector adapters and cable management.